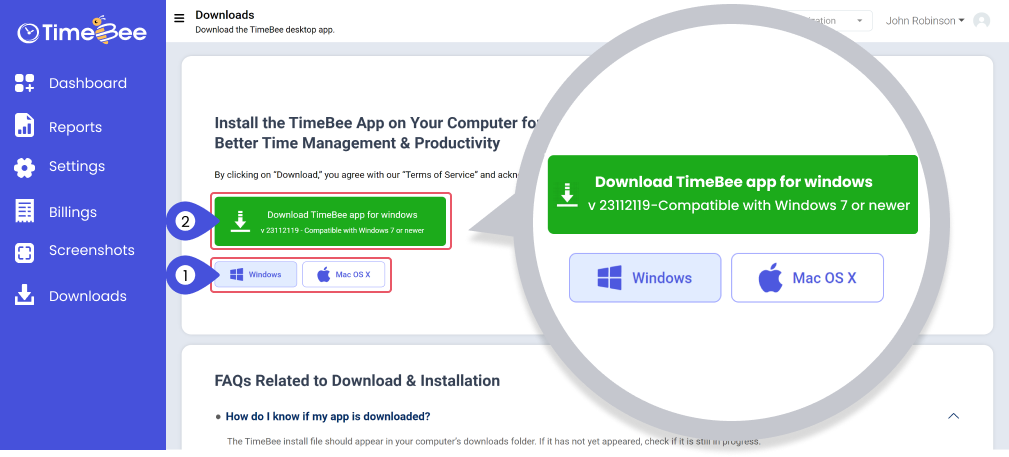
Step 1: Open the TimeBee dashboard and click on “Downloads.” Next, select “Windows” and then click on the download button.
The setup file will appear in your ‘Downloads’ folder.
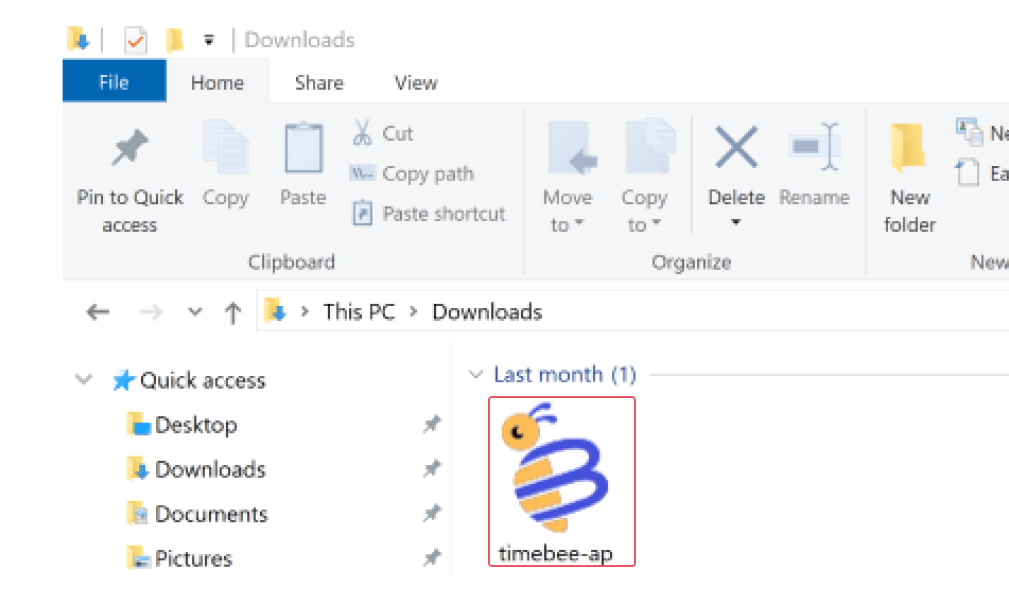
Step 2: Double click to begin installing TimeBee. Windows may display a ‘User Access Control’ prompt. Click ‘Yes’ here to continue installation
Step 3: TimeBee’s installation wizard will now open.
If you wish to create a desktop icon, check the box. Click ‘Next’ to continue.

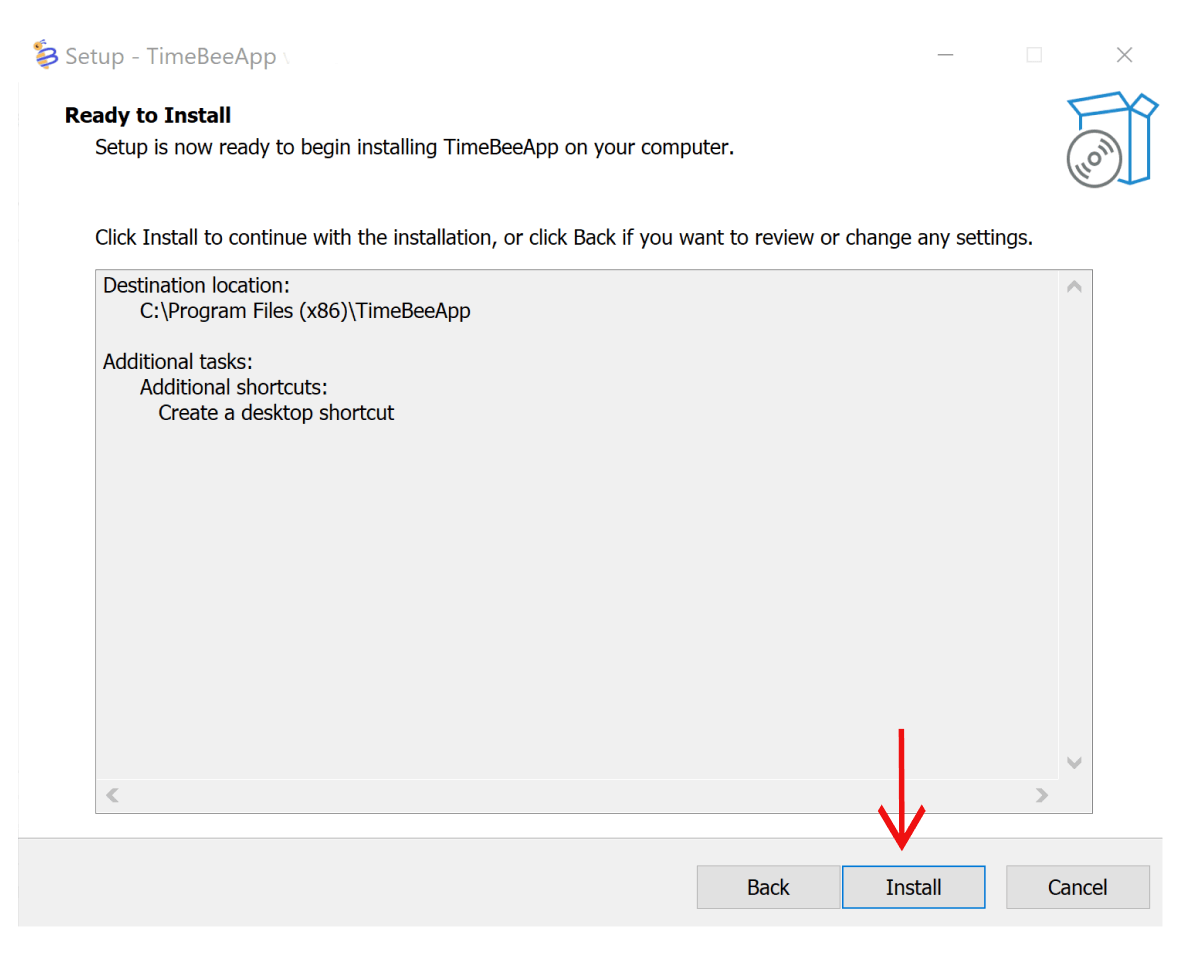
Step 4: Next, click ‘Install’ to finish installing the TimeBee app.
Step 5: A progress bar will show you the installation progress.
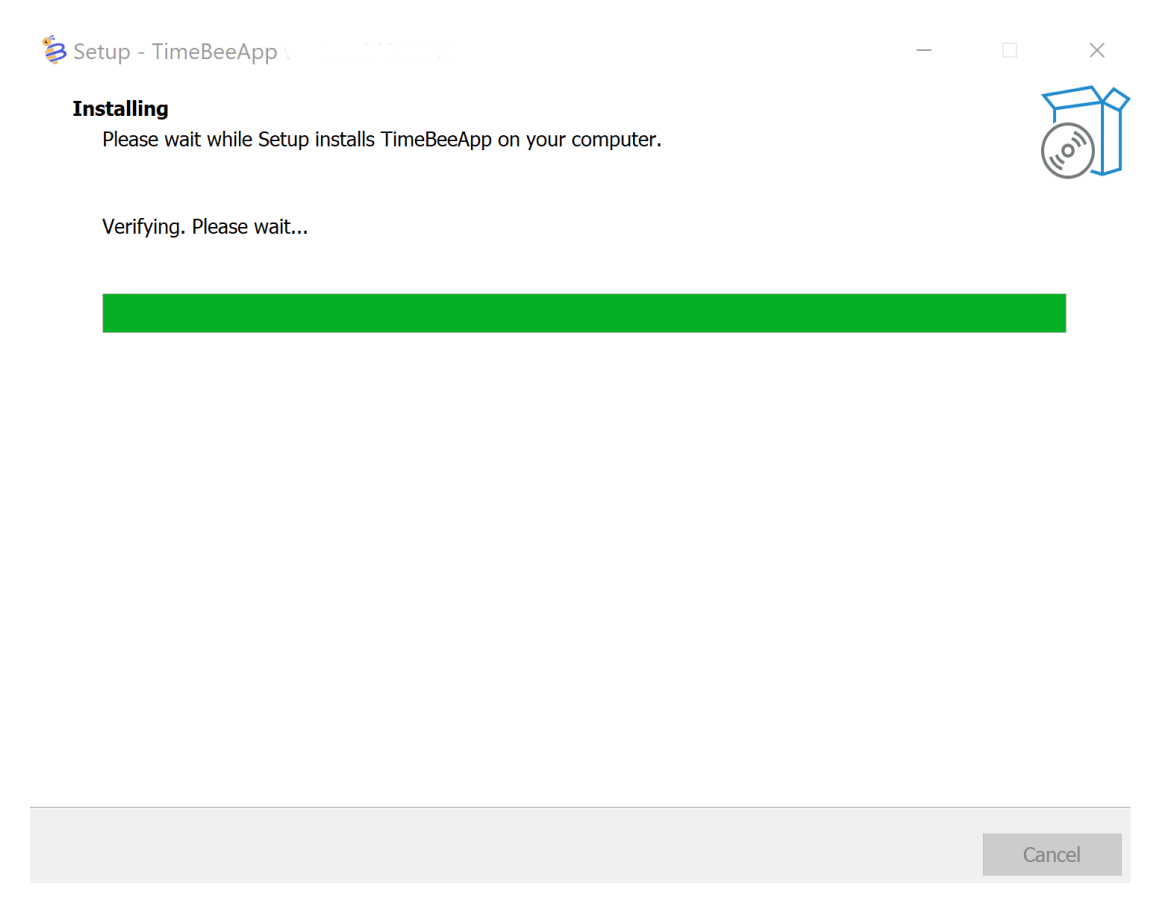
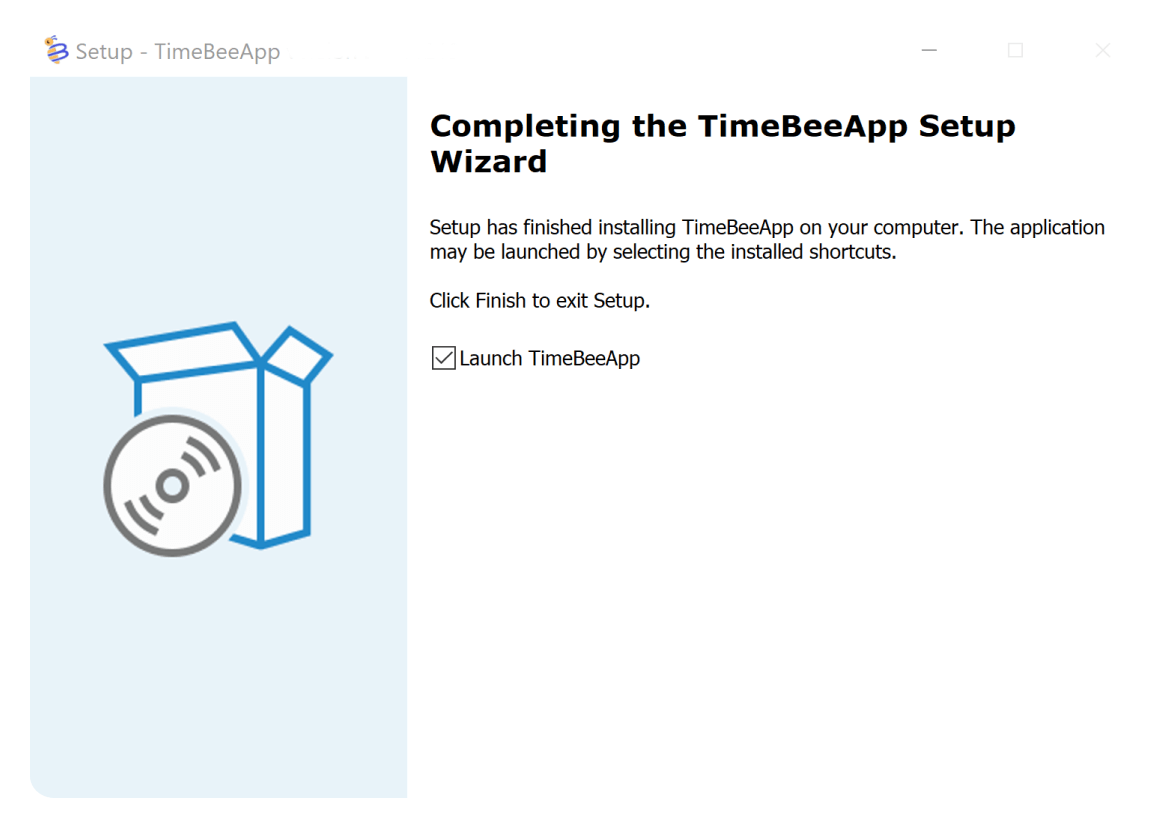
When the installation is finished, click on ‘Finish’ to launch TimeBee.
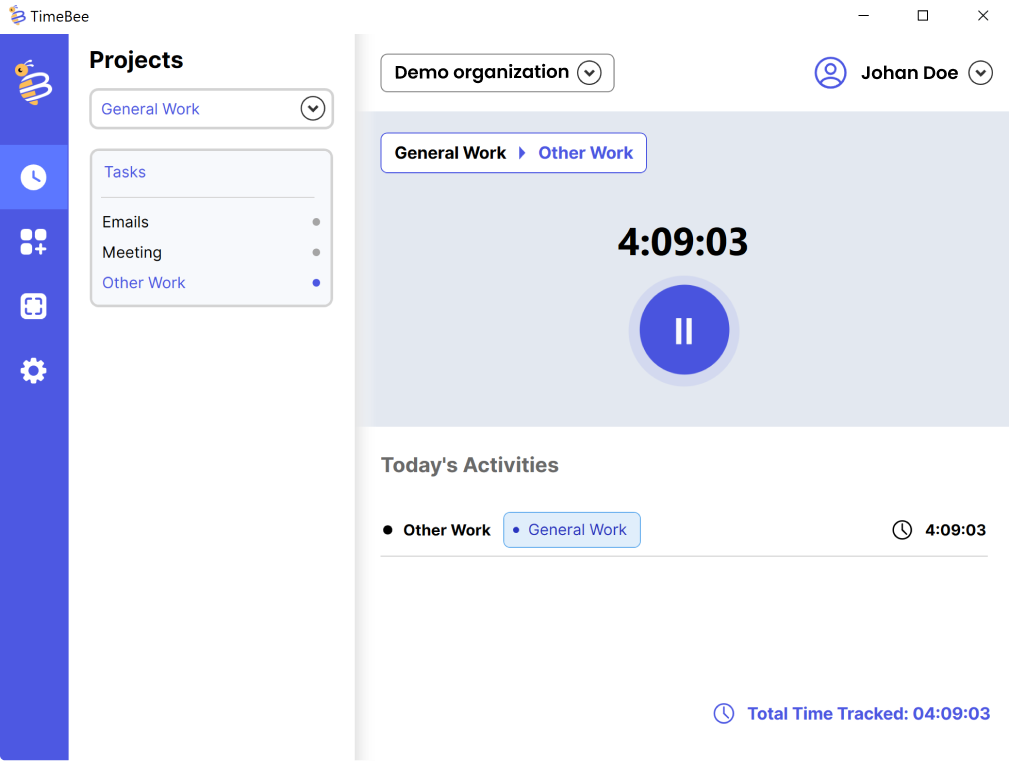
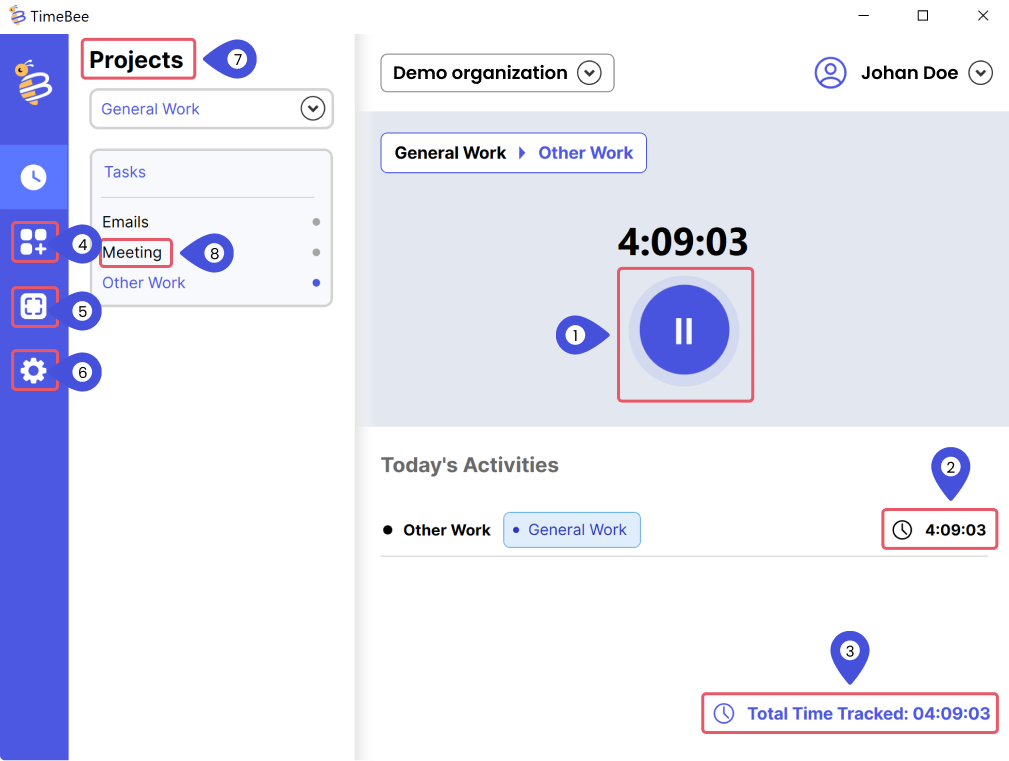
TimeBee’s interactive app is a user’s control panel, from where a user can start/pause/stop the timer, view, project, and task details, open the user’s dashboard, check personal screenshots, and customize according to their needs.
The desktop app ensures to track and monitor the workforce even when there is no internet. All the tracked items will sync once the user’s computer connects to the internet again.
Below are the main elements from the TimeBee’s web app.
This app can directly be downloaded from the web app. It is compatible with both Windows and Mac.
Try it free for 14 days and see how it can be your savior!
